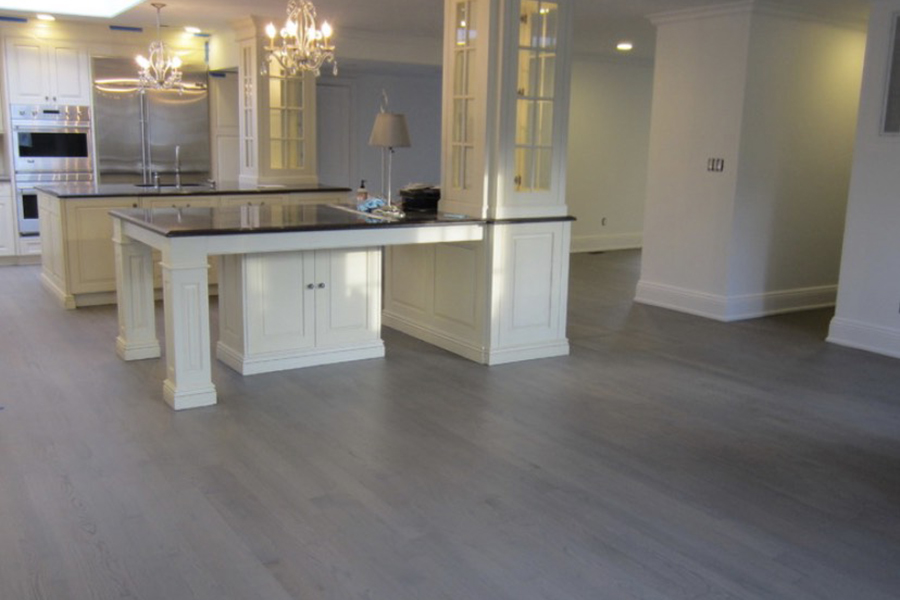
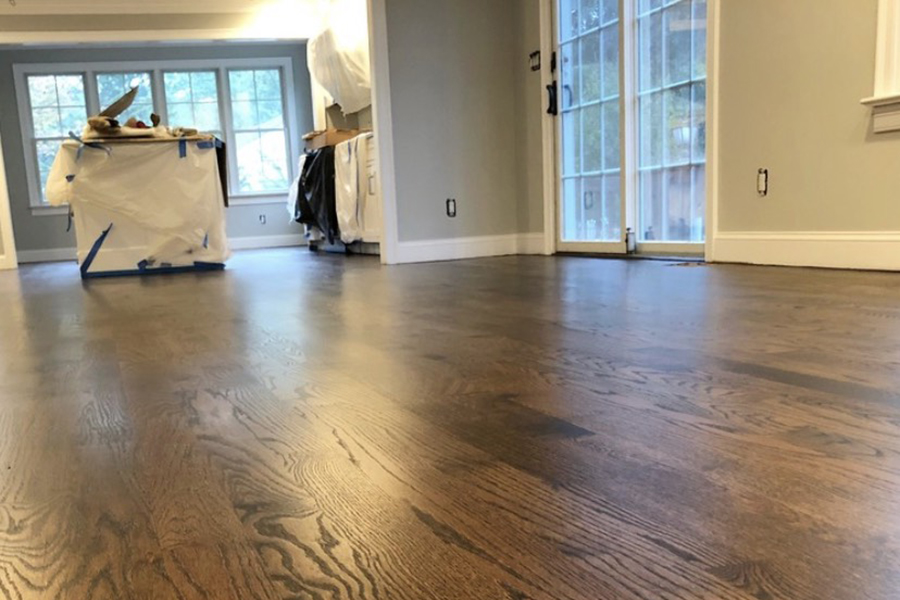
Sanding hardwood floors
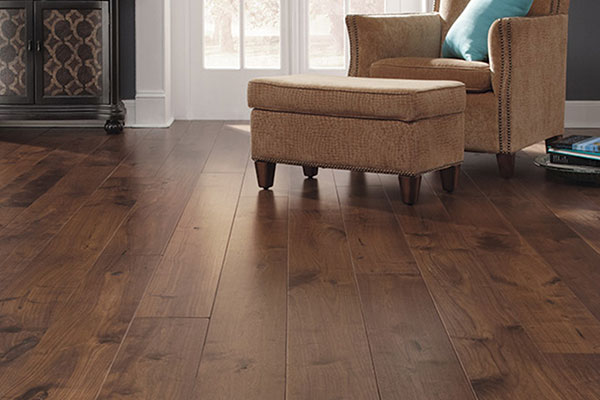
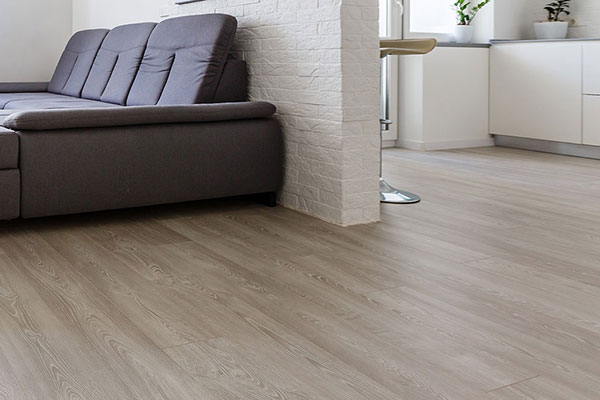
A well-finished floor looks great and shiny. Over time, the shininess of the floor starts to diminish. You might need to maintain the elegant look of the floor if you own an office or a house. There is no doubt that a well-maintained house looks awesome, and one of the main parts in the house is the floor. Floors might be made from the cement or wood. The fact is that a wooden floor requires a lot of care and maintenance. There are a lot of things that you can do on your own to maintain the elegant look of the floor whereas; sometimes, you may require an expert to do the job. We are going to talk about sanding hardwood floors. Sanding is one of the processes of refinishing the floor, which is very important. It brings back the shine and will make your floor looks new.
The need for Hardwood floor resurfacing.
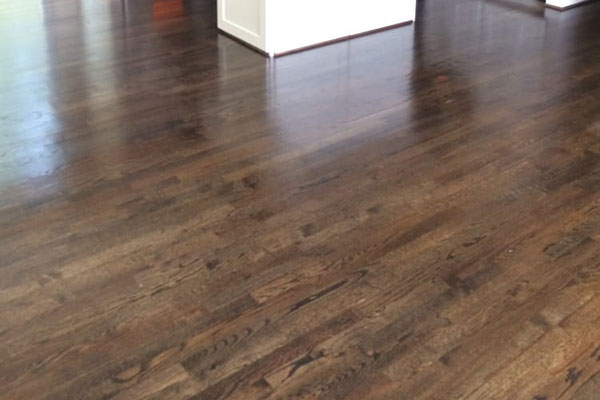
The first question comes in mind, and that is about the need for the hardwood floor resurfacing or refinishing. As mentioned earlier, with the passage of time, the shine of the wooden floor starts to diminish, and there are chances that stains are formed on the surface. Moreover, the scratches and cracks look even worse. There are several floor cleaning products available in the market. Few of them are quite cheap; however, these products buildup the waxes on the floor. There is no doubt that the waxy floor looks pathetic. To bring back the shine and to remove stains from the surface of hardwood, you might need to do refinishing. Hardwood floor resurfacing will make your floor new.
Benefits of Hardwood floor resurfacing.
The following are some of the benefits of hardwood floor resurfacing.
- You can save up your money, as refinishing the floor is not that expensive.
- Your floor will look like a new one. All scratches and dirt will be removed from the floor after resurfacing.
- The overall value of your house will increase.
- Hardwood floor resurfacing also helps to ward off the pests from home. As they will not get chance to reach on the surface of the floor
- As there will be little scratches and cracks on the floor after resurfacing, there might be very little possibility of getting an injury from it. The overall safety of individuals will also increase.
Sanding hardwood floors
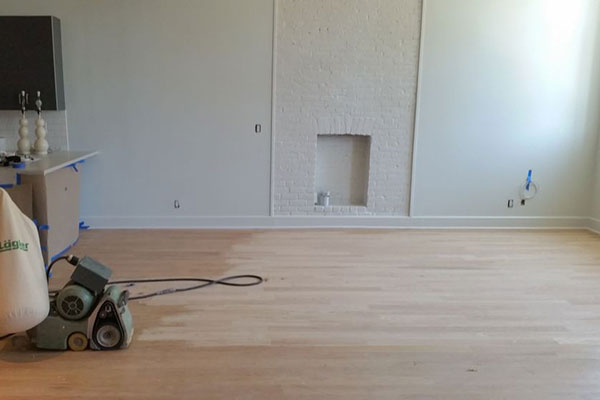
For the hardwood floor resurfacing, sanding is the first step. Sanding can be defined as the process of smoothing or polishing the surface with the sandpapers. Different grit levels of the sandpapers are used while sanding the floor. Another prime purpose of sanding is to remove any previous finishing on the wooden floor. Well, the question may arise about the need for sanding. There are several reasons for sanding hardwood floors.
The following are some of them:
- To remove any scratches from the wooden floor.
- To repair the damages like cracks.
- For changing the colors of the floor.
- To remove the stains from the floor.
- Watermarks can also be removed from the floor with the help of sanding.
- Sanding also removes the waxy layer from the wooden floor. This waxy layer comes from the wood floor cleaning products.
Prerequisites to sand the floor
Well, before you start to sand the floor. There are certain things you must do.
Ensure personal safety
This is the first step. You might need a mask to secure yourself from getting intact with the wooden dust. You might also need to wear safety goggles, which will prevent any dust particles from entering your eyes. These dust particles can cause serious infections to you. Therefore, you must ensure your personal safety before sanding hardwood floors. In addition to this, you might also need to wear earplugs, as the sanding machine has a lot of noise.
Prepare the room for sanding.
In this step, you need to prepare the room for the sanding. You might need to remove all the furniture from the room. In addition to this, you also need to remove any paintings or wall decorations from that room. Furthermore, the curtains from that room must also be removed. In this way, these things will not get contaminated. After this, you need to close all the vents and HVAC systems. Closing the vents will prevent the dust from entering into the vents.
When the tasks mentioned above are accomplished, the next step is to clean the floor. You can use a vacuum cleaner or a mop to remove the dirt particles from the floor. If there are any dirt particles on the floor, it can be a disaster for the floor.
Machine required for the sanding process
There are several machines available for the sanding process. The basic thing in the process of sanding is rubbing sandpapers of different grits to bring smoothness. The following are the machines that can be used for the sanding purpose.
Buffer machine
It is the same machine that is used for polishing purposes. You need to operate this machine with your hand. There is a round buffer on the machine that rotates. If you manage to arrange this machine, you also need a pad and sandpapers. The pad will help to absorb the shock, whereas sandpapers will sand the floor.
Square vibrating sanders
These are large machines as compared to buffers. You need to operate it while standing. It works in the same way as the buffer machine does. However, there is a long handle. You can sand the floor while standing. Moreover, you can also get this machine on rent easily.
Drum sanders
Professionals often use drum sanders. You need to operate this machine while standing. Moreover, you can't move it like square vibrating sanders of the buffer machines. It provides decent finishing to the floor. Moreover, it is mostly used when you resurface the floors for the first time.
Techniques for sanding wood floors
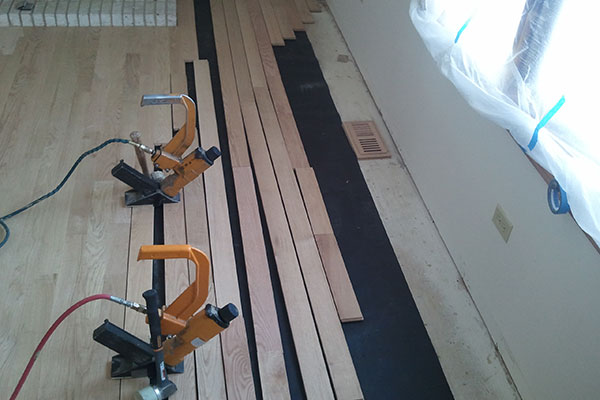
As mentioned earlier, the main concept behind the sanding wood floors is to rub the floor with the sandpapers. You need to start with the higher grit. You can choose any machine mentioned above. You might need to start with coarse sandpaper, which ranges from 30-40 grits. With this sandpaper, you first need to sand your whole floor. For the edges or corners, you might need to use your hand or an Edger. When you are done with the coarse sandpaper, the next step is to start sanding your floor with medium sandpaper. The medium sandpaper ranges from 40 to 60 grits. Similarly, after that, you need sand with fine sandpaper with grit from 100 to 120.
There are a few things that should be considered while sanding the wooden floors. The first thing is the overuse of the sandpapers. This ruins the floor. The second thing is that you can't skip the grits, for better results, you need to sand your floor with all grits. For example, you cannot skip the medium grit. You have to go number by number. In case if you skip the medium grit level, the result will not be accurate. Moreover, it can also make your floor pathetic. Another thing to keep in mind is that don't do over-sanding. It will start to tear your upper layer of the wooden floor. It is usually recommended to remove approximately 1/32" part of the upper layer that must be worn off. This level can result in a disaster.
Once the sanding is completed, now you need to deep clean your wooden floor. Make sure to check every nook and corner of the room. You can use your hand to check the smoothness of the floor. Clean the floor with a vacuum cleaner or a mop. Make sure that the floor is completely cleaned. You can also use water to clean the floor, but you might need to wait for it to get dry. In addition to this, you also have to use a dry microfiber cloth to remove the dust from the surface of the floor.
It is generally recommended that; let the professionals do the task of sanding. It is a sensitive task, and if floor sanding is not done correctly, your floor will not look perfect. You might want to save up some of your money, but if you are inexperienced, you can ruin your whole floor, and after that, you need to spend a lot of dollars to repair the damage. Sometimes the damages are irreparable.
What to do after sanding the floors
The task of sanding the floor is not the last task of Hardwood floor resurfacing. Once the process of sanding is completed, the next task is to apply the finish and the polish on the floor. Based on the chemical formula, there are three general types of finishes. The following are the three different types of finishing.
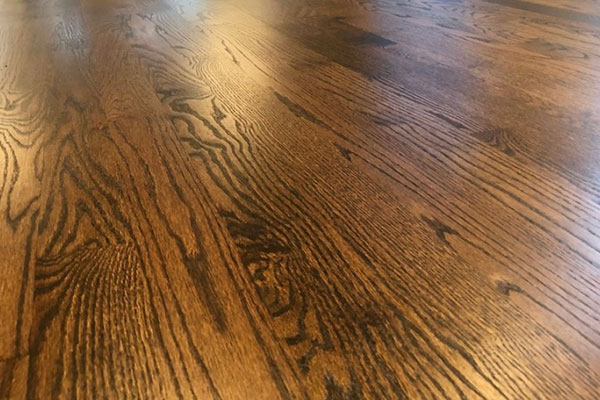
Polyurethane
This is a water-based varnish that is applied on the floor, which is already sanded. Some water-based varnish changes the color of the wood when it is applied. However, some water-based polyurethane finish doesn't change the color. This type of finish is usually applied to the high-traffic and highly moisturized areas. This will increase the life and durability of the wooden floor.
Staining
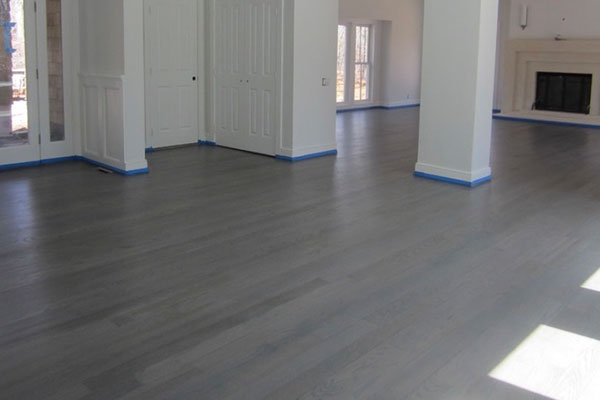
There is a specific way of applying the stain to the floor. Stain basically penetrates the wood as compared to varnish that remains outside. In the staining process, we apply the stain on the wood with rags and wipe it off immediately. What if you apply a second coat of the stain to the floor? If you think that the color will become darker, that is not the case. The fact is that the amount of stain a floor can absorb is finite, which is why applying the second coat doesn't make the color darker.
Varnish
This comes in a variety of luster. It is available from matte to glossy. The glossy varnish can increase the life of a wooden floor and makes it even more durable. Over time, the color of varnish starts to get dark.
Penetrating sealer
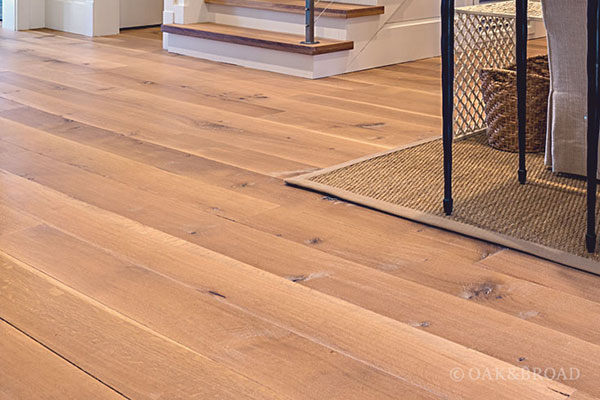
The penetrating sealer is also a type of finish used in the floor resurfacing. It brings about the natural color of the wood. However, with time, the surface color starts getting dark. It is less durable than varnish or polyurethane finish.
Method to apply the finish for the floor resurfacing
Before applying the finish, it is compulsory to sand the floor perfectly. If the sanding process is not done perfectly, there will be no benefit of applying the finish on the wooden floor. Well, to apply the finish, the wooden floor must be sanded perfectly and must also be cleaned. Now start pouring the finish to the entire length of the room. With the help of the T-bar, start spreading it on the floor in the same direction and make your way to the door. You need to wait for the finish to dry. Once dried completely, you can do the second coat. Usually, two to three coats of finish are applied on the floor.
Difference between Sanding & Screening
There is a lot of difference between sanding and screening. In the aforementioned section, we have thoroughly discussed the sanding process. In short, it is a process in which the upper layer of the wooden floor is removed, and then it is refinished with the help of varnish or Polyurethane. The process of sanding is usually done when there is damage in the wood of the wooden floor. However, if there are no deep scratches, your floor could be refinished with the help of screening.
In screening, the buffer is used to clear any dirt or wax. After that, the finish is applied to the floor. Moreover, in screening, you don't need to remove the complete top layer of the wooden floor. You just need to observe the scratches and deal with them.
Where Recoating will fail
There are some places where you can’t apply recoating.The recoating works on solid wood, laminated wood, and parquet floors. Furthermore, if your floors are old fashioned like waxy or shellac, the recoat will not get stuck on those floors. Sanding on such hardwood floors is compulsory. Some Polyurethane finish will stick to such floors but will wear off in a few years. In addition to this, if the previous coating is Polyurethane, you can't just use the same coat again. You again need to sand the whole floor and then apply a finish coat on it.
Conclusion
We can finally assert that the Sanding hardwood floors will increase the life of the floor. It is although a long procedure, and you might need to have an experience before doing such tasks. The hardwood floor resurfacing will increase the wooden floor's durability and make it look like a new. We also recommend you to get this job done by some professionals. In this way, your expense will also be decreased, and the finishing will also be excellent.
If you are looking for a professional to do the job for some amazing results, feel free to contact Great Hardwood Flooring. We will be more than happy to help you out with our professional services.